CS 571: Artificial Intelligence
Importing the VM File
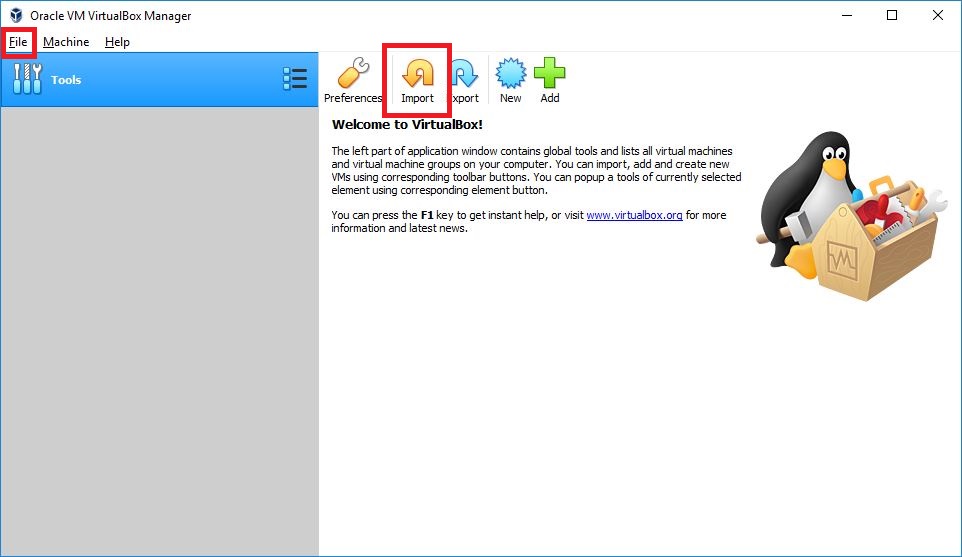
Oracle VM VirtualBox
-
Choose "Import" option. You can also do this via File -> Import Appliance.
-
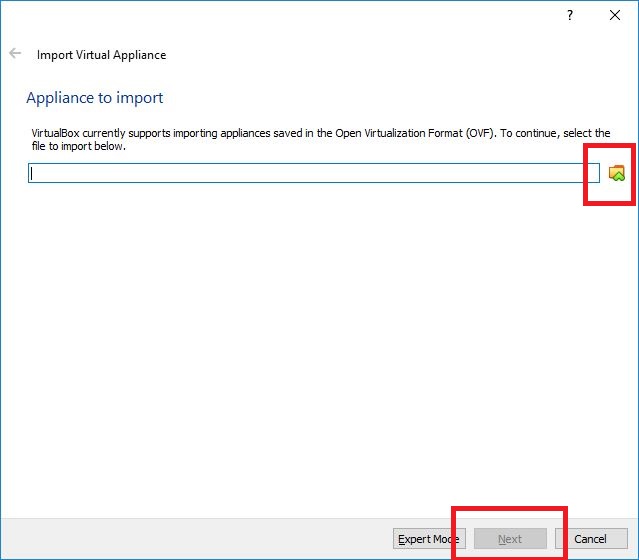
Choose the location of downloaded ".ova" file using "Browse" option. Then click on "Next".
-
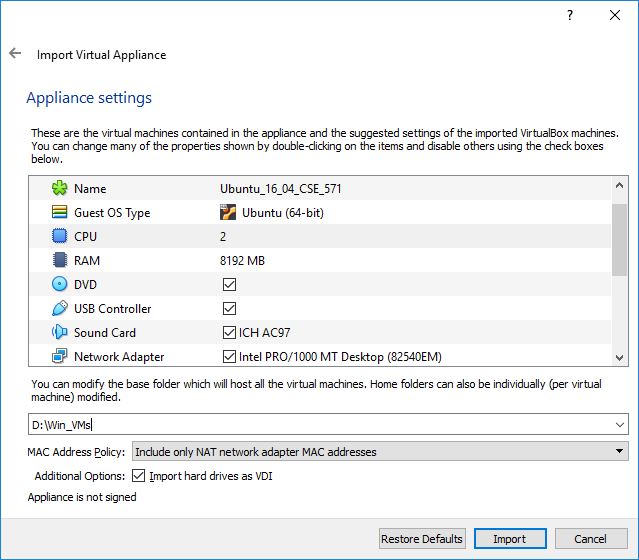
You can change your applicance settings at this point. By default, the number of CPUs is set to 2, you can change the number of CPUs to suit your needs. We would recommend increasing the number of CPUs if possible. Having less number of CPUs will slow down the VM, so it is recommended to increase the number of CPUs if available. You can also play around with other options here. Once you are done witht he settings, click on "Import".
-
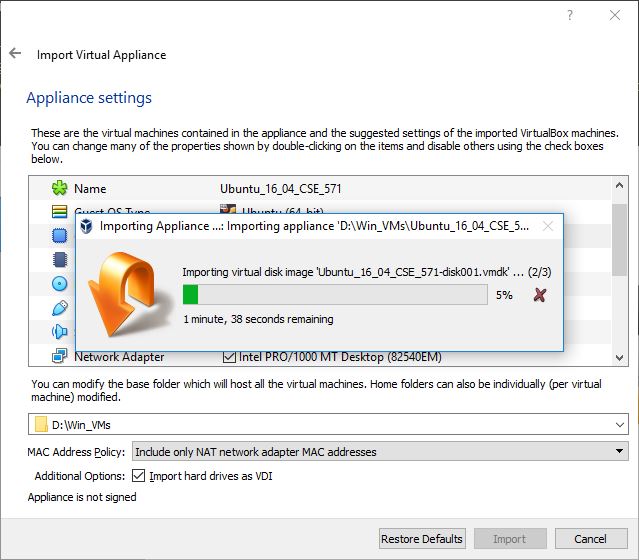
Importing the VM image will take some time.
-
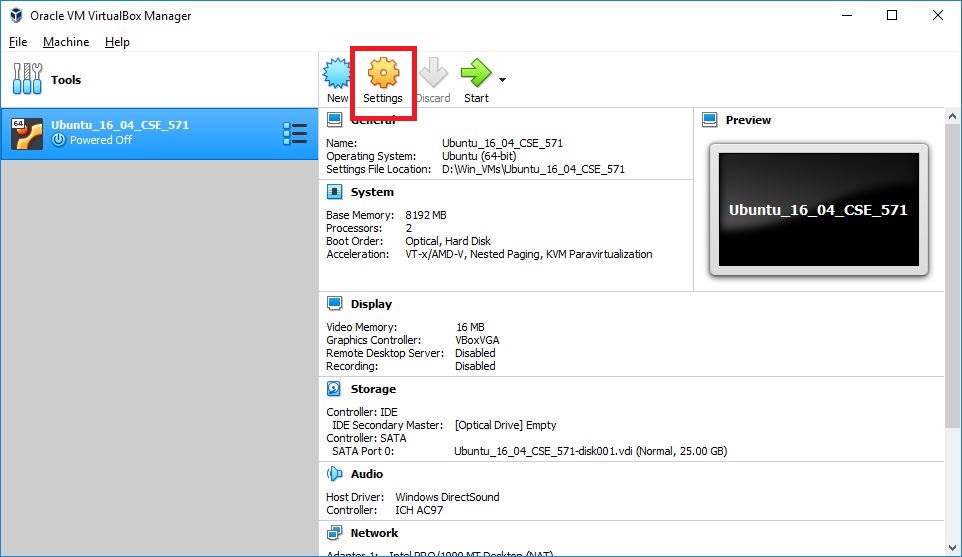
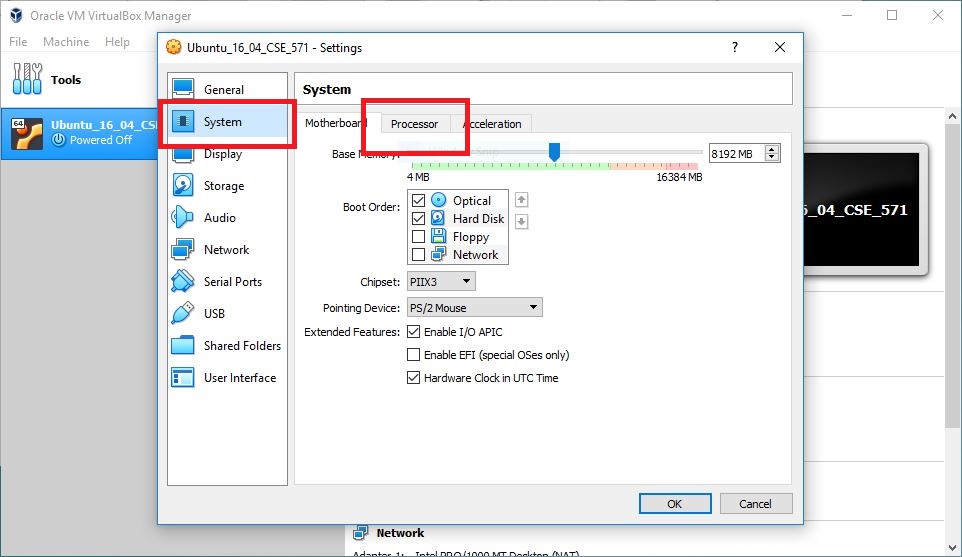
If you did not change the number of processors/CPUs earlier, you can still set it in settings.
-
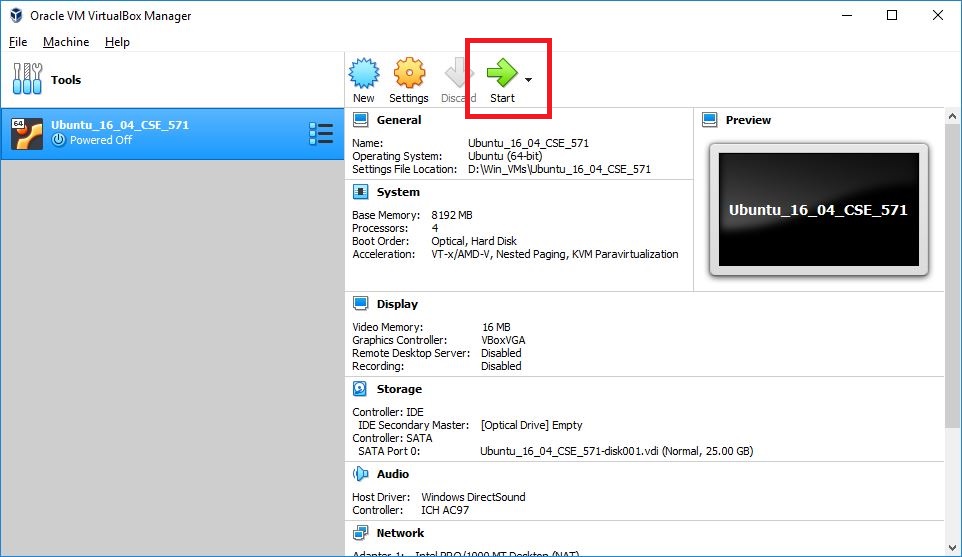
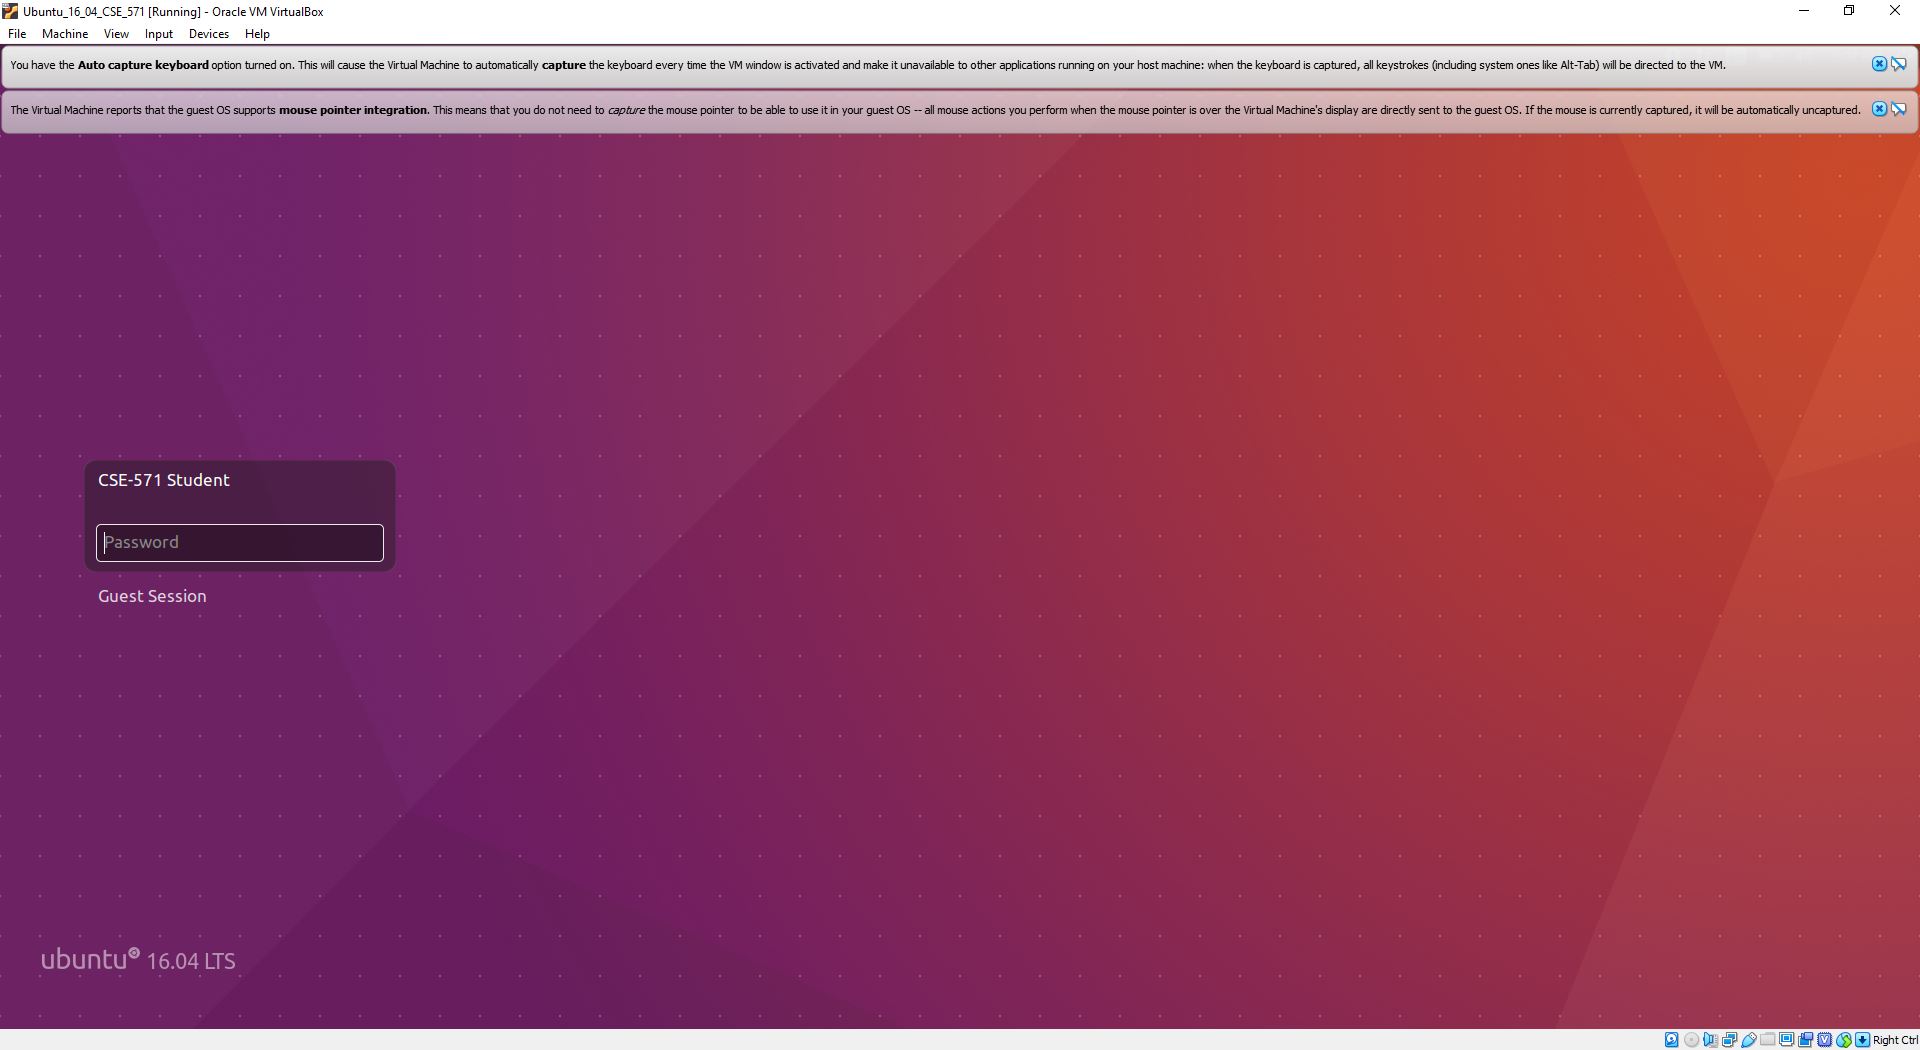
You can start the VM and play around with it.
VMware Workstation Pro/Player or VMware Fusion Pro
The screenshots below correspond to VMware Workstation Pro. Since both VMware Workstation Pro/Player and VMware Fusion Pro have similar options, you can use these steps on VMware Workstation Player and VMware Fusion Pro too.
-
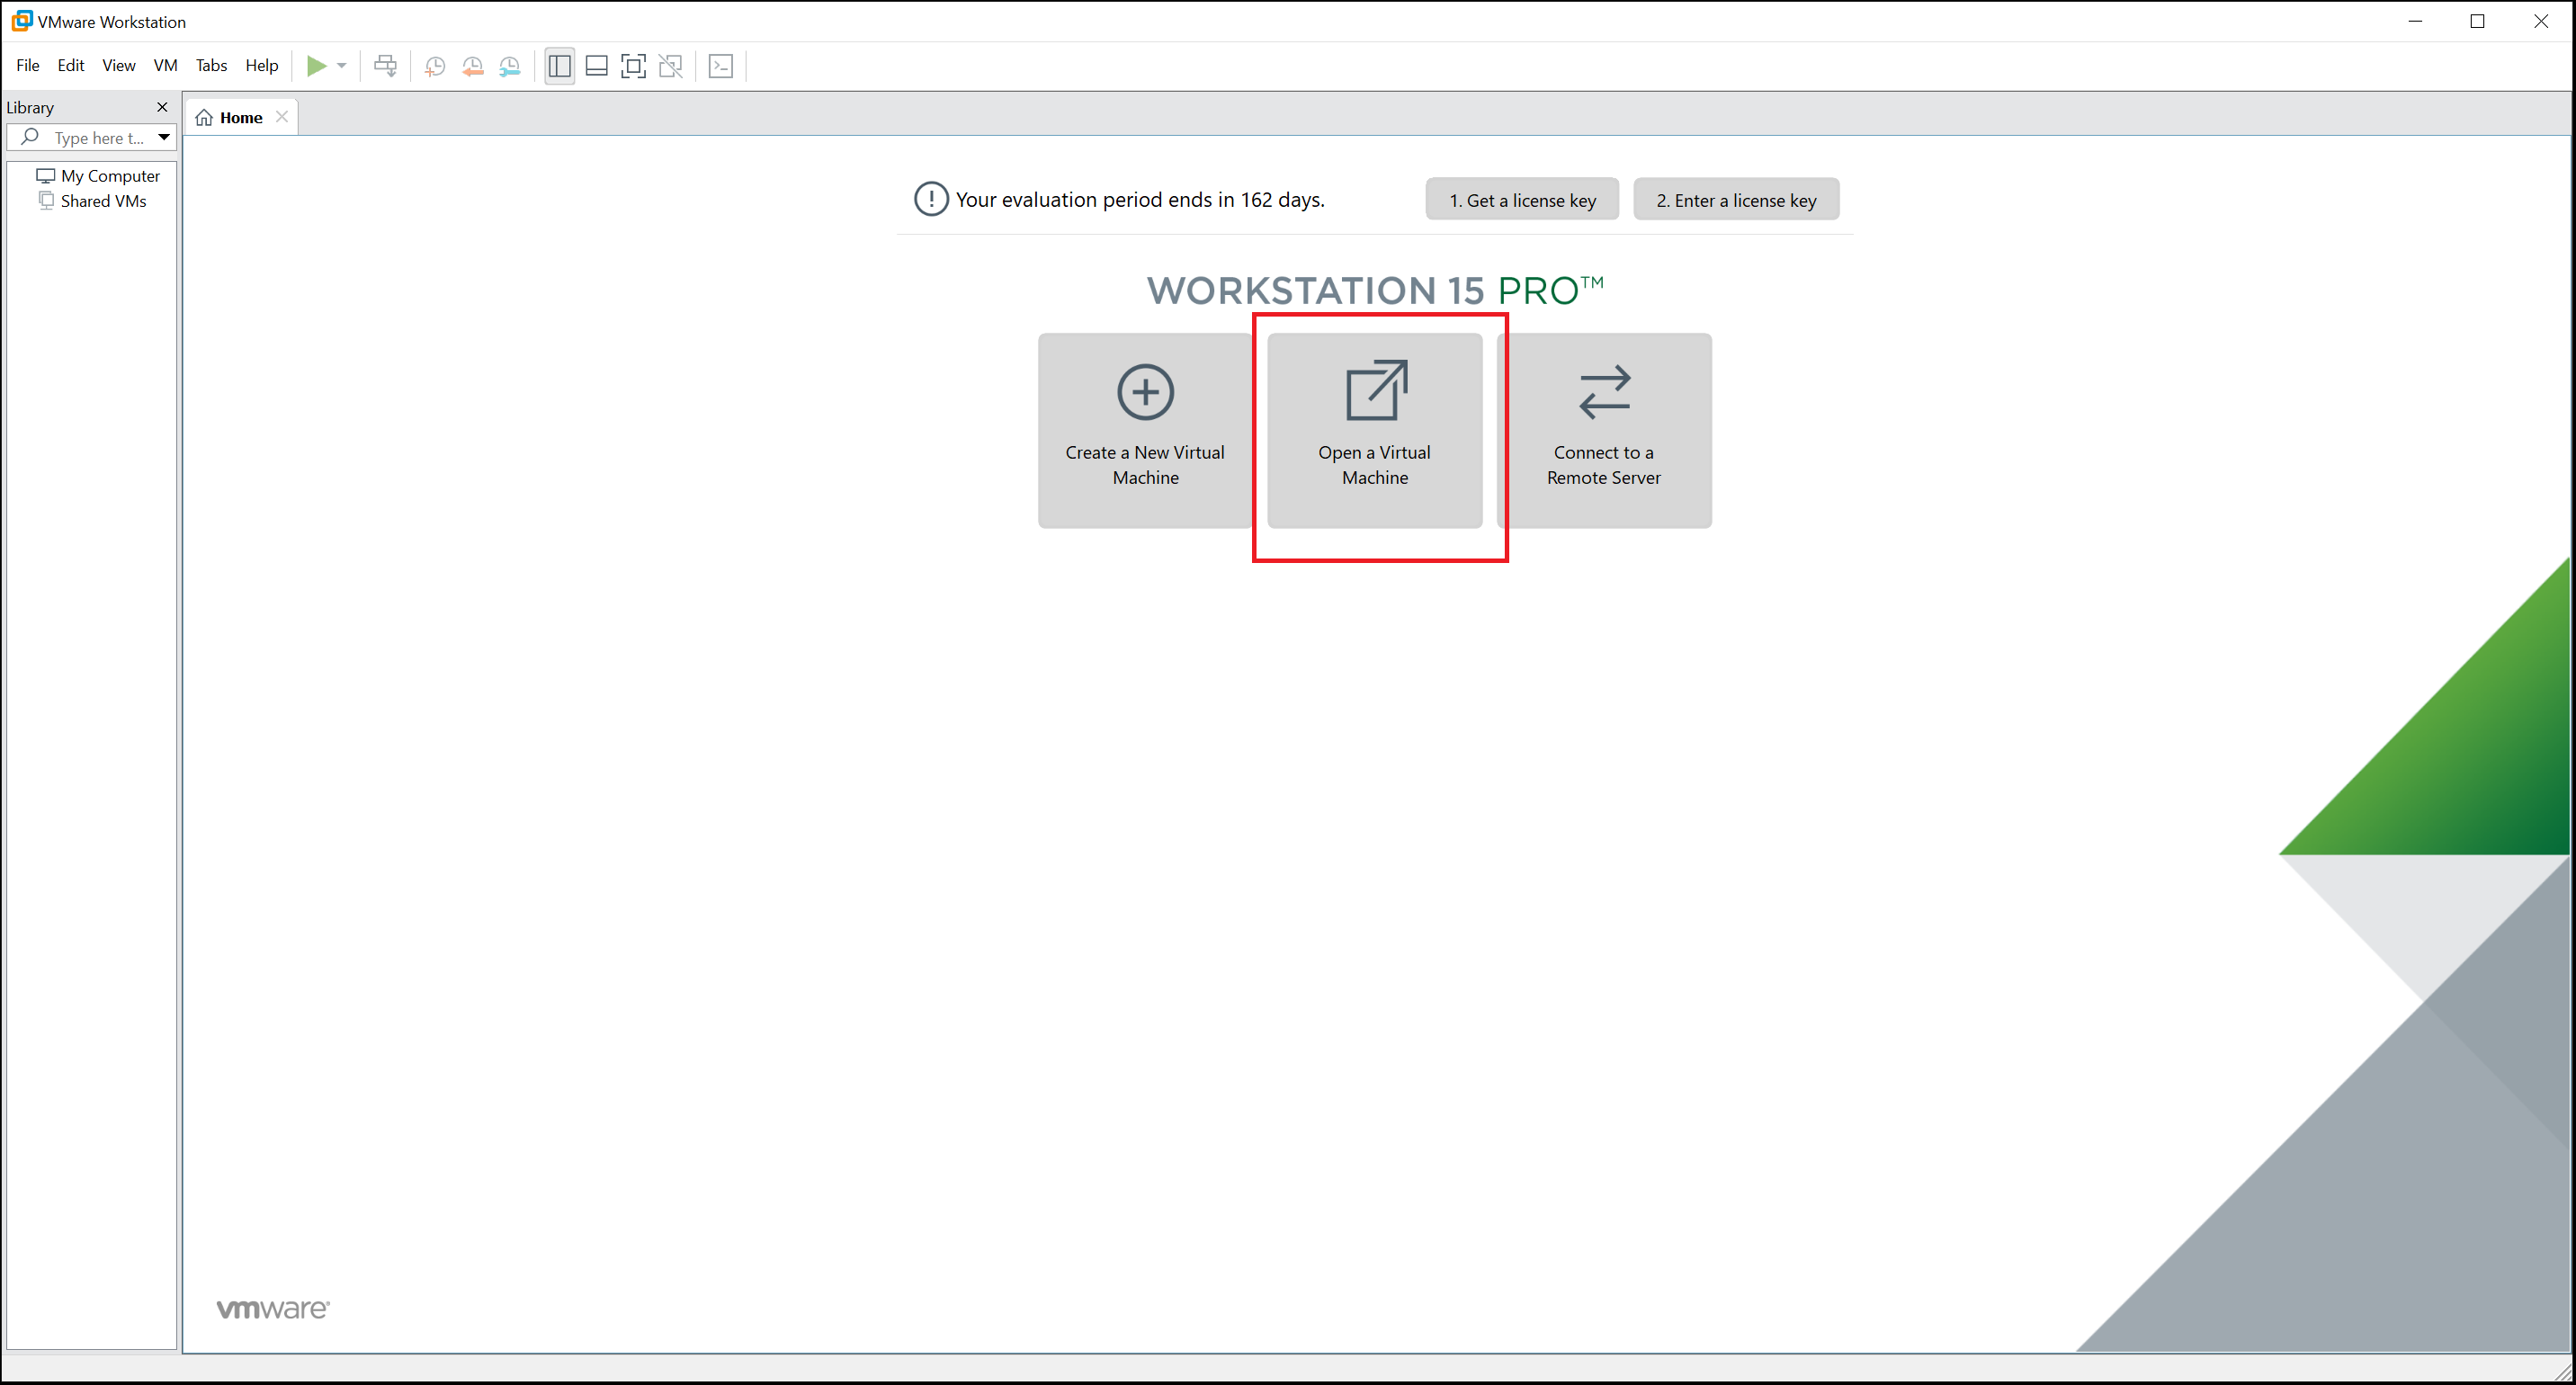
Choose "Open a Virtual Machine"
-
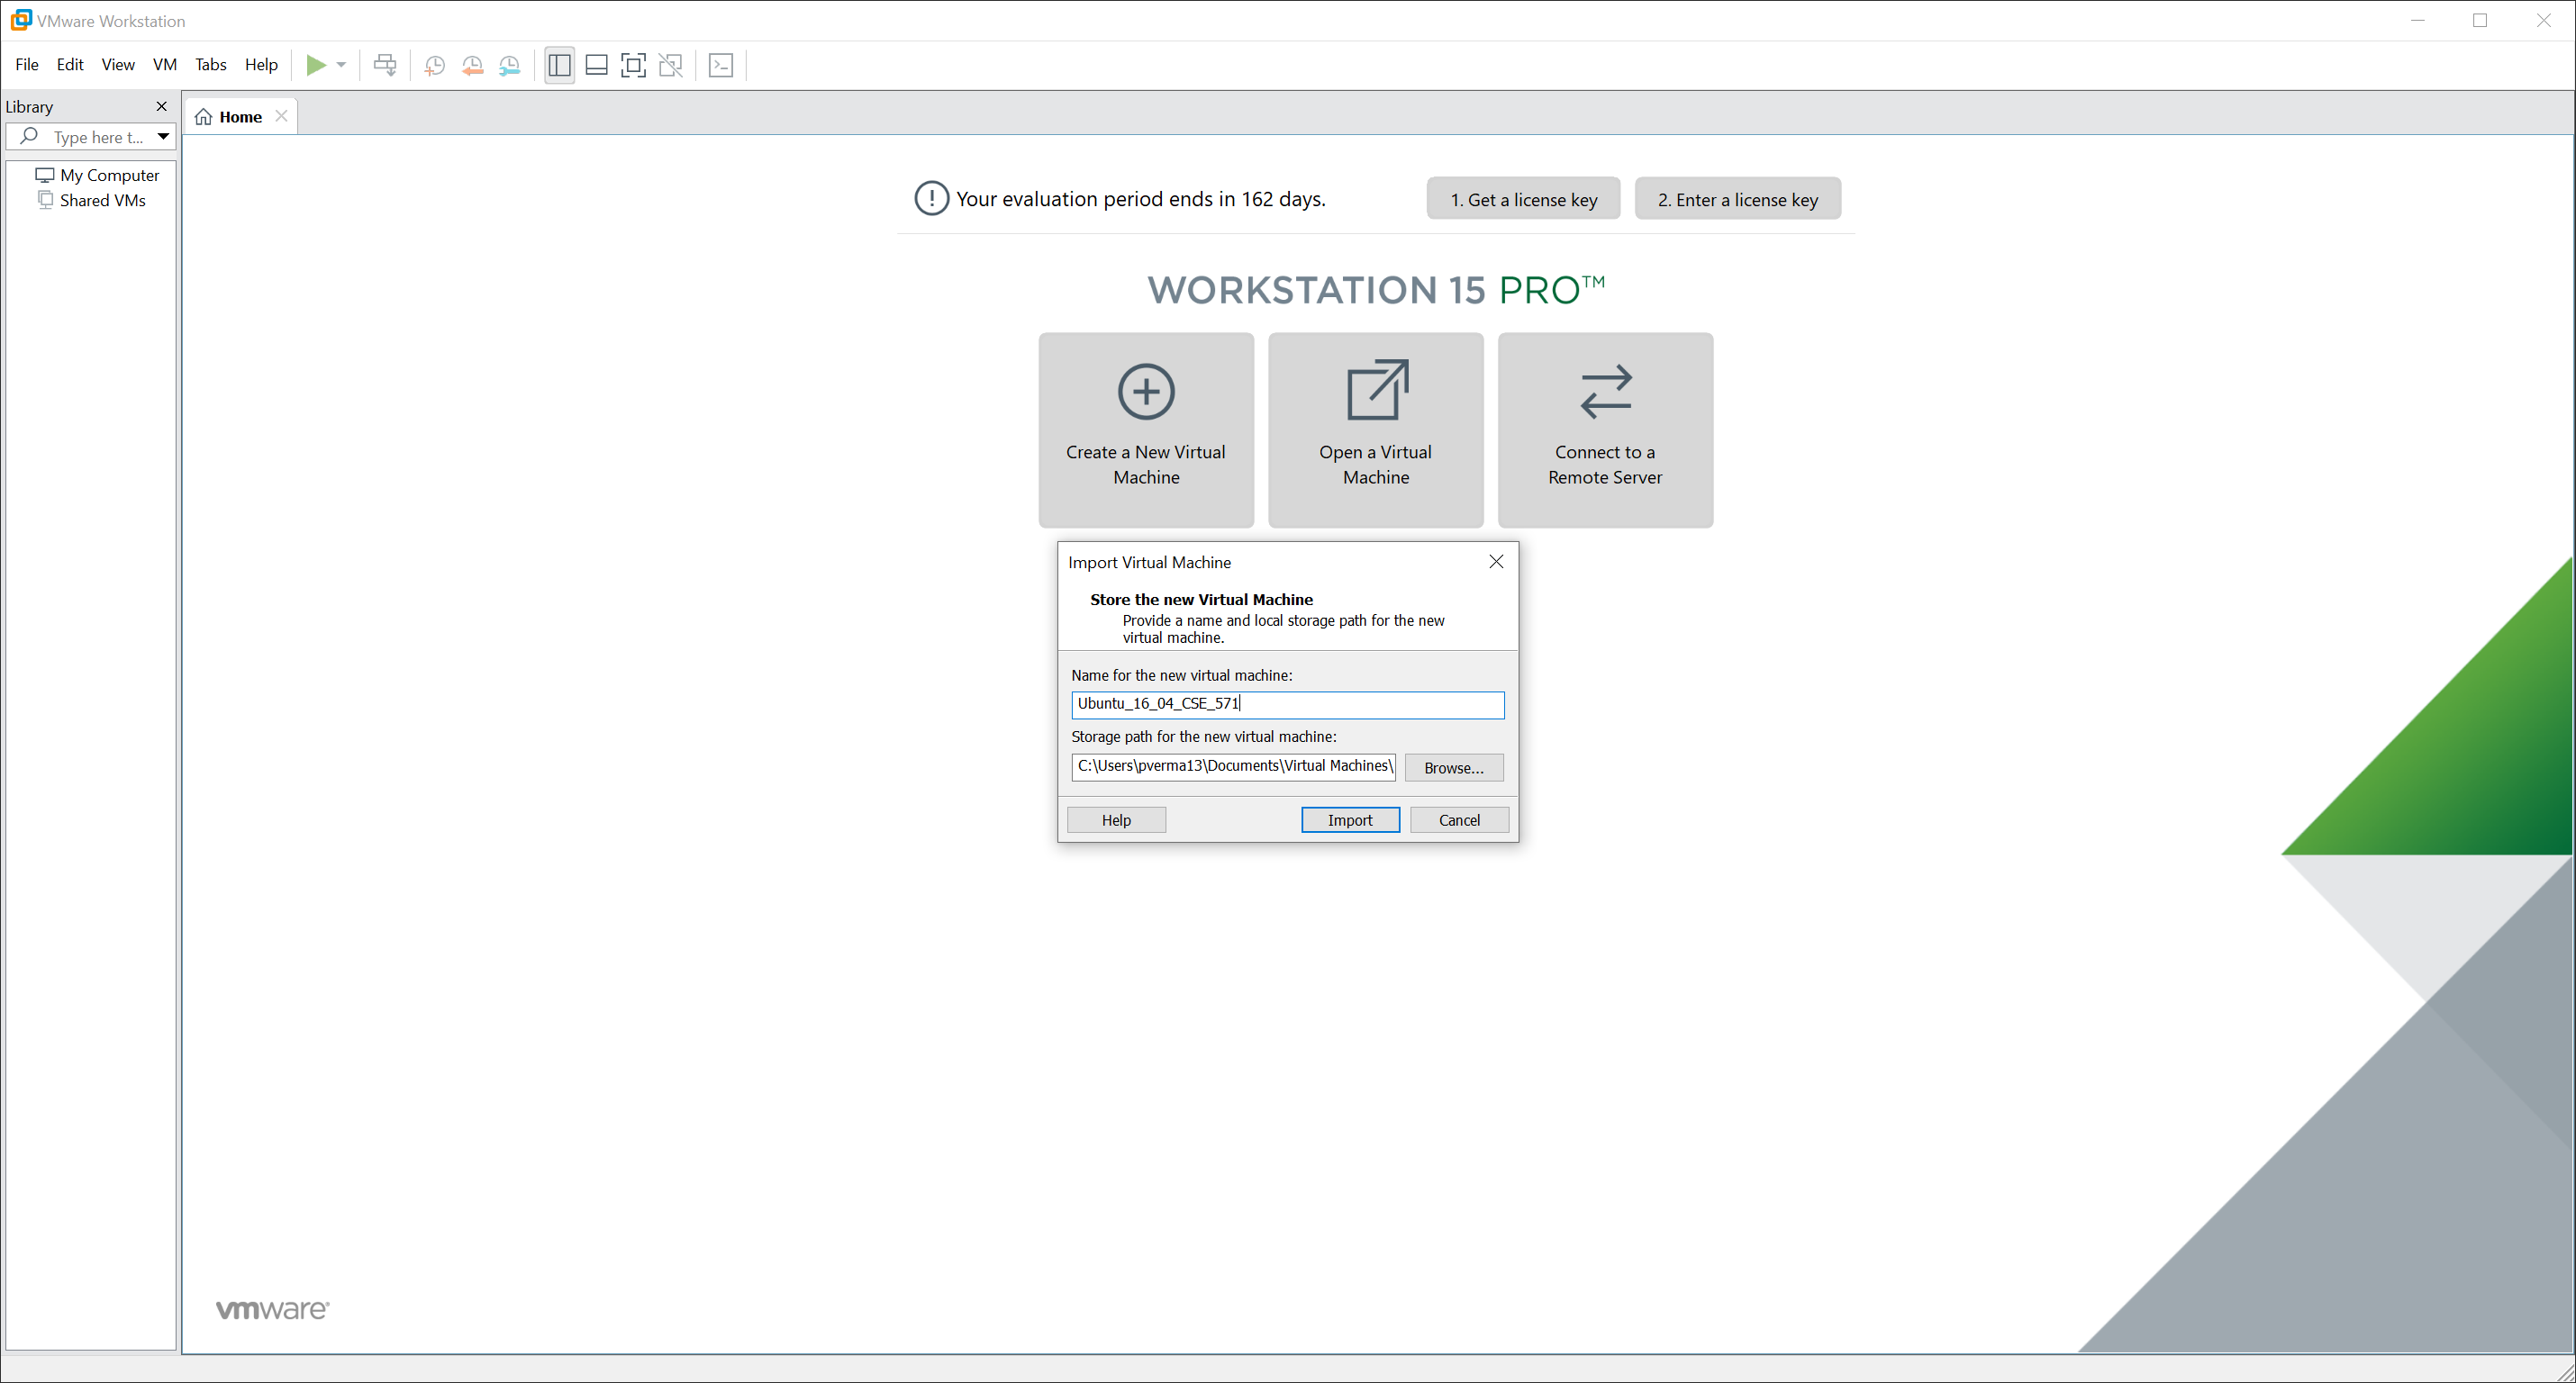
Choose the location of downloaded ".ova" file using "Browse" option. Then click on "Import".
-
You might get an error if the OVF specifications are not compatible. Just click on Retry. It should work.
-
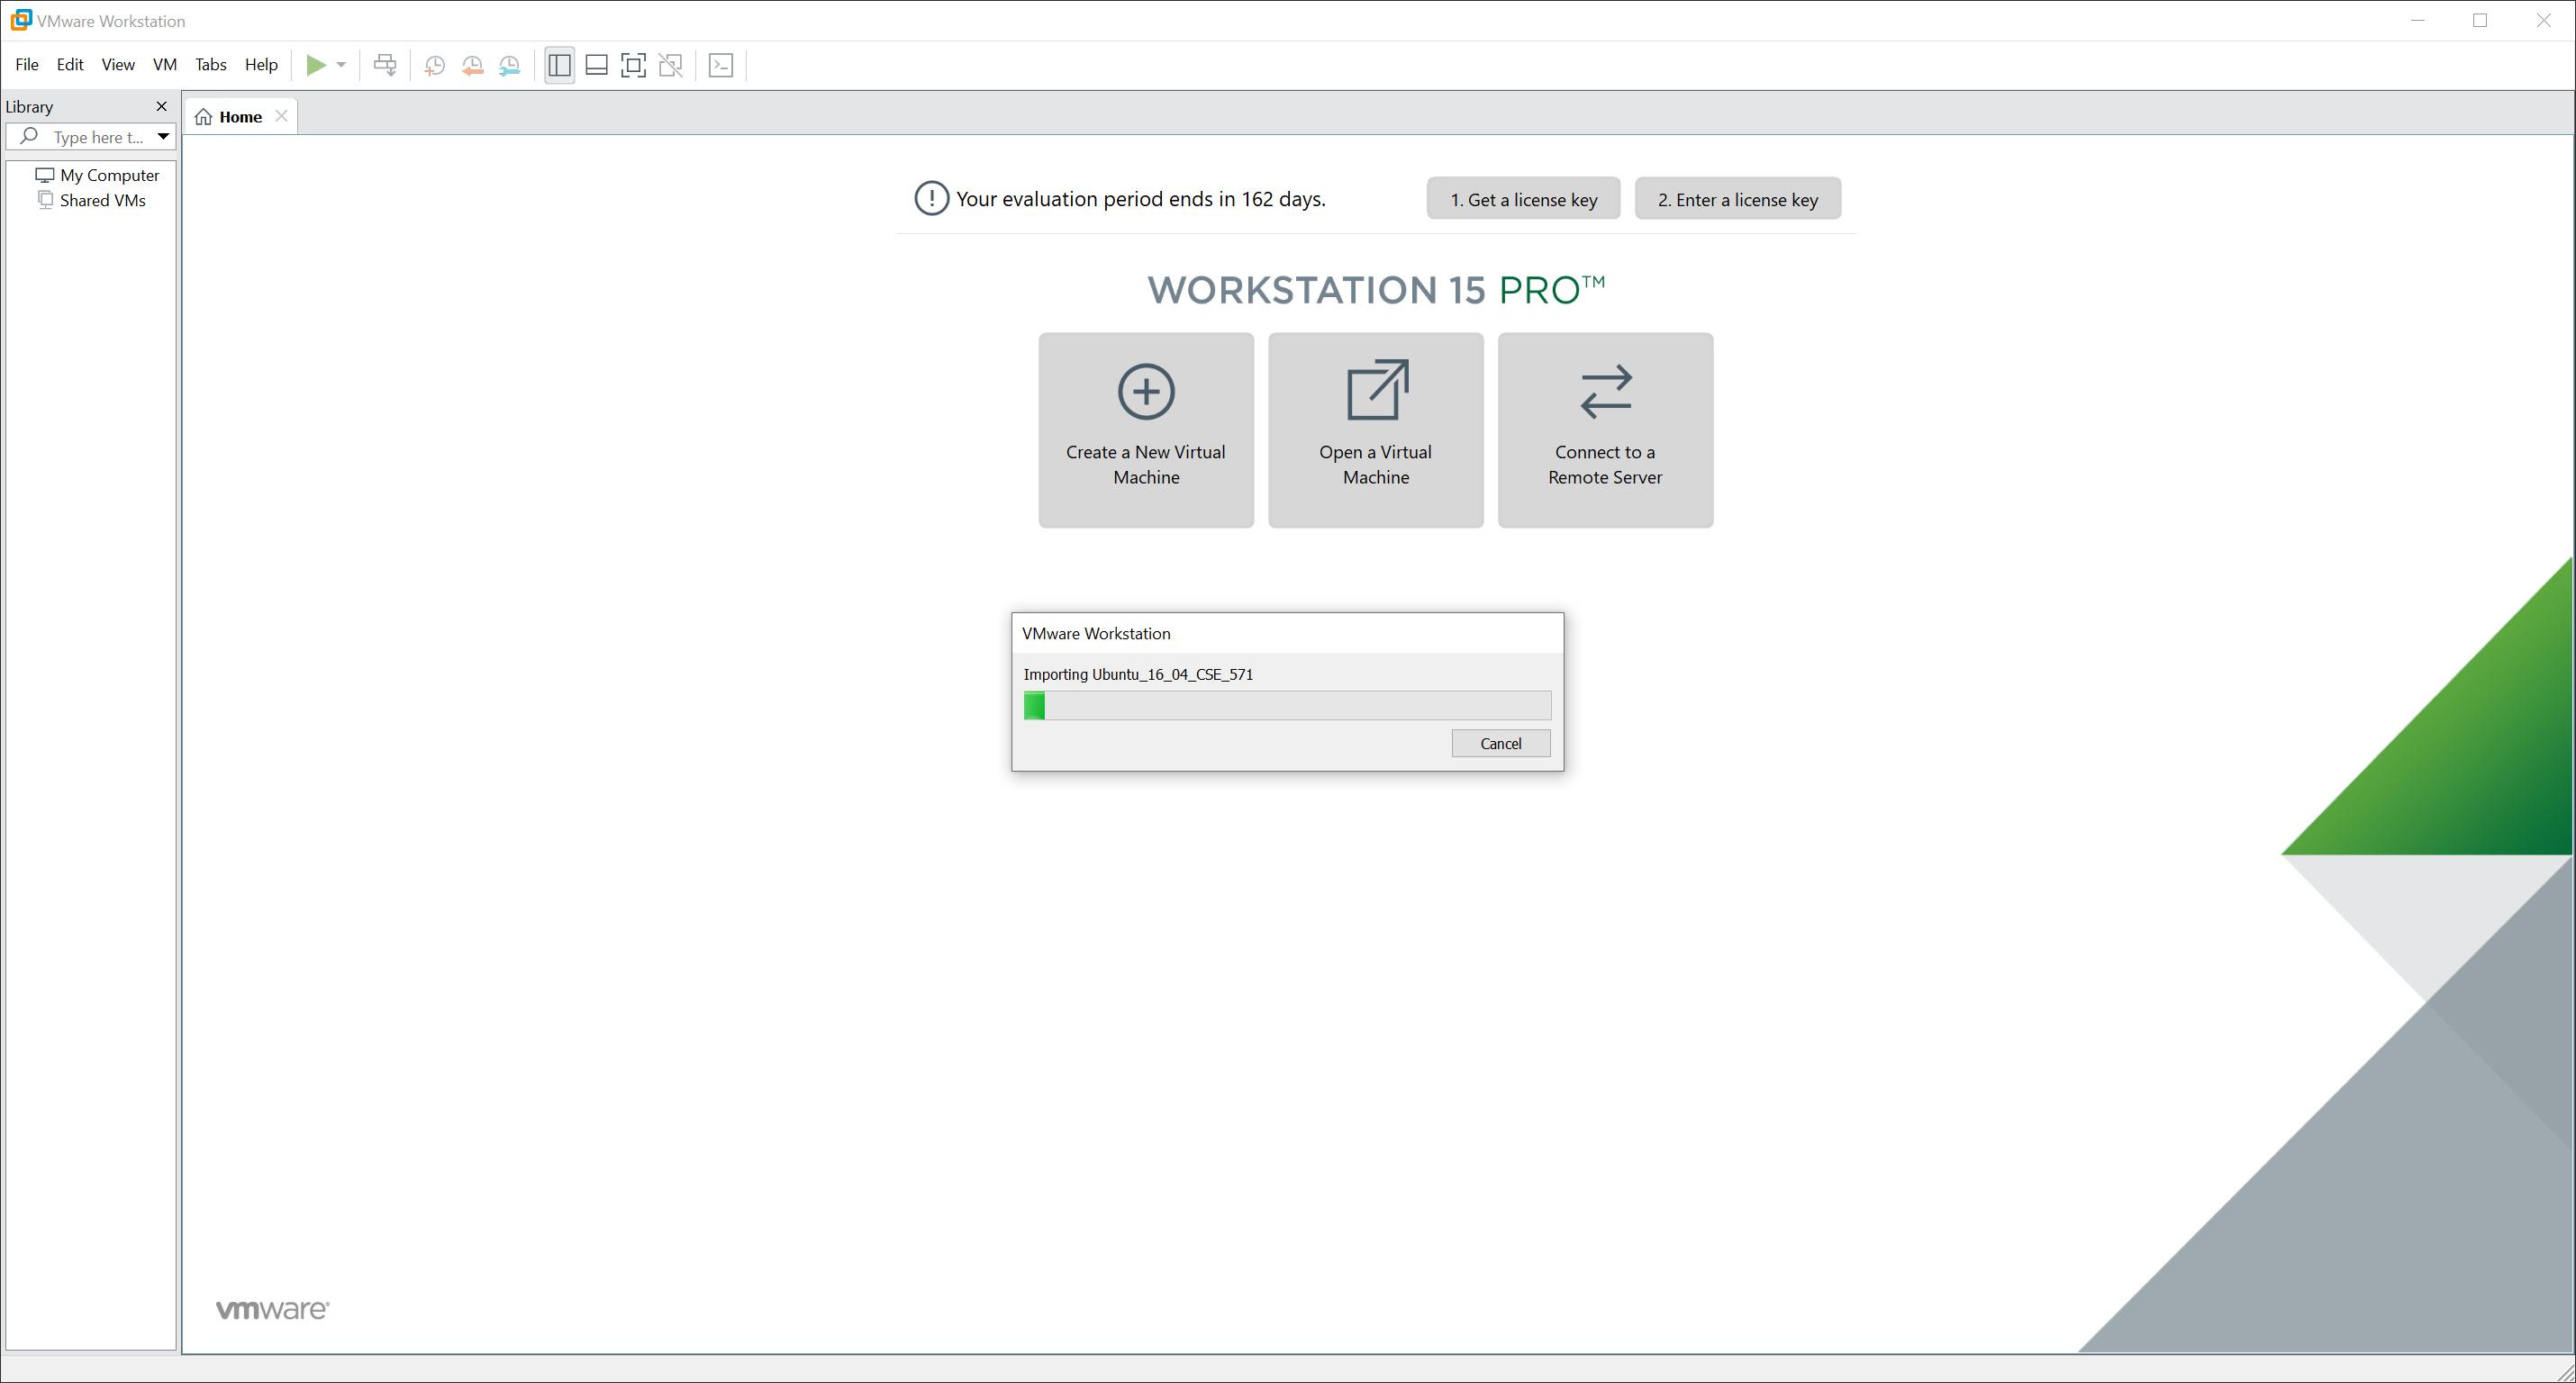
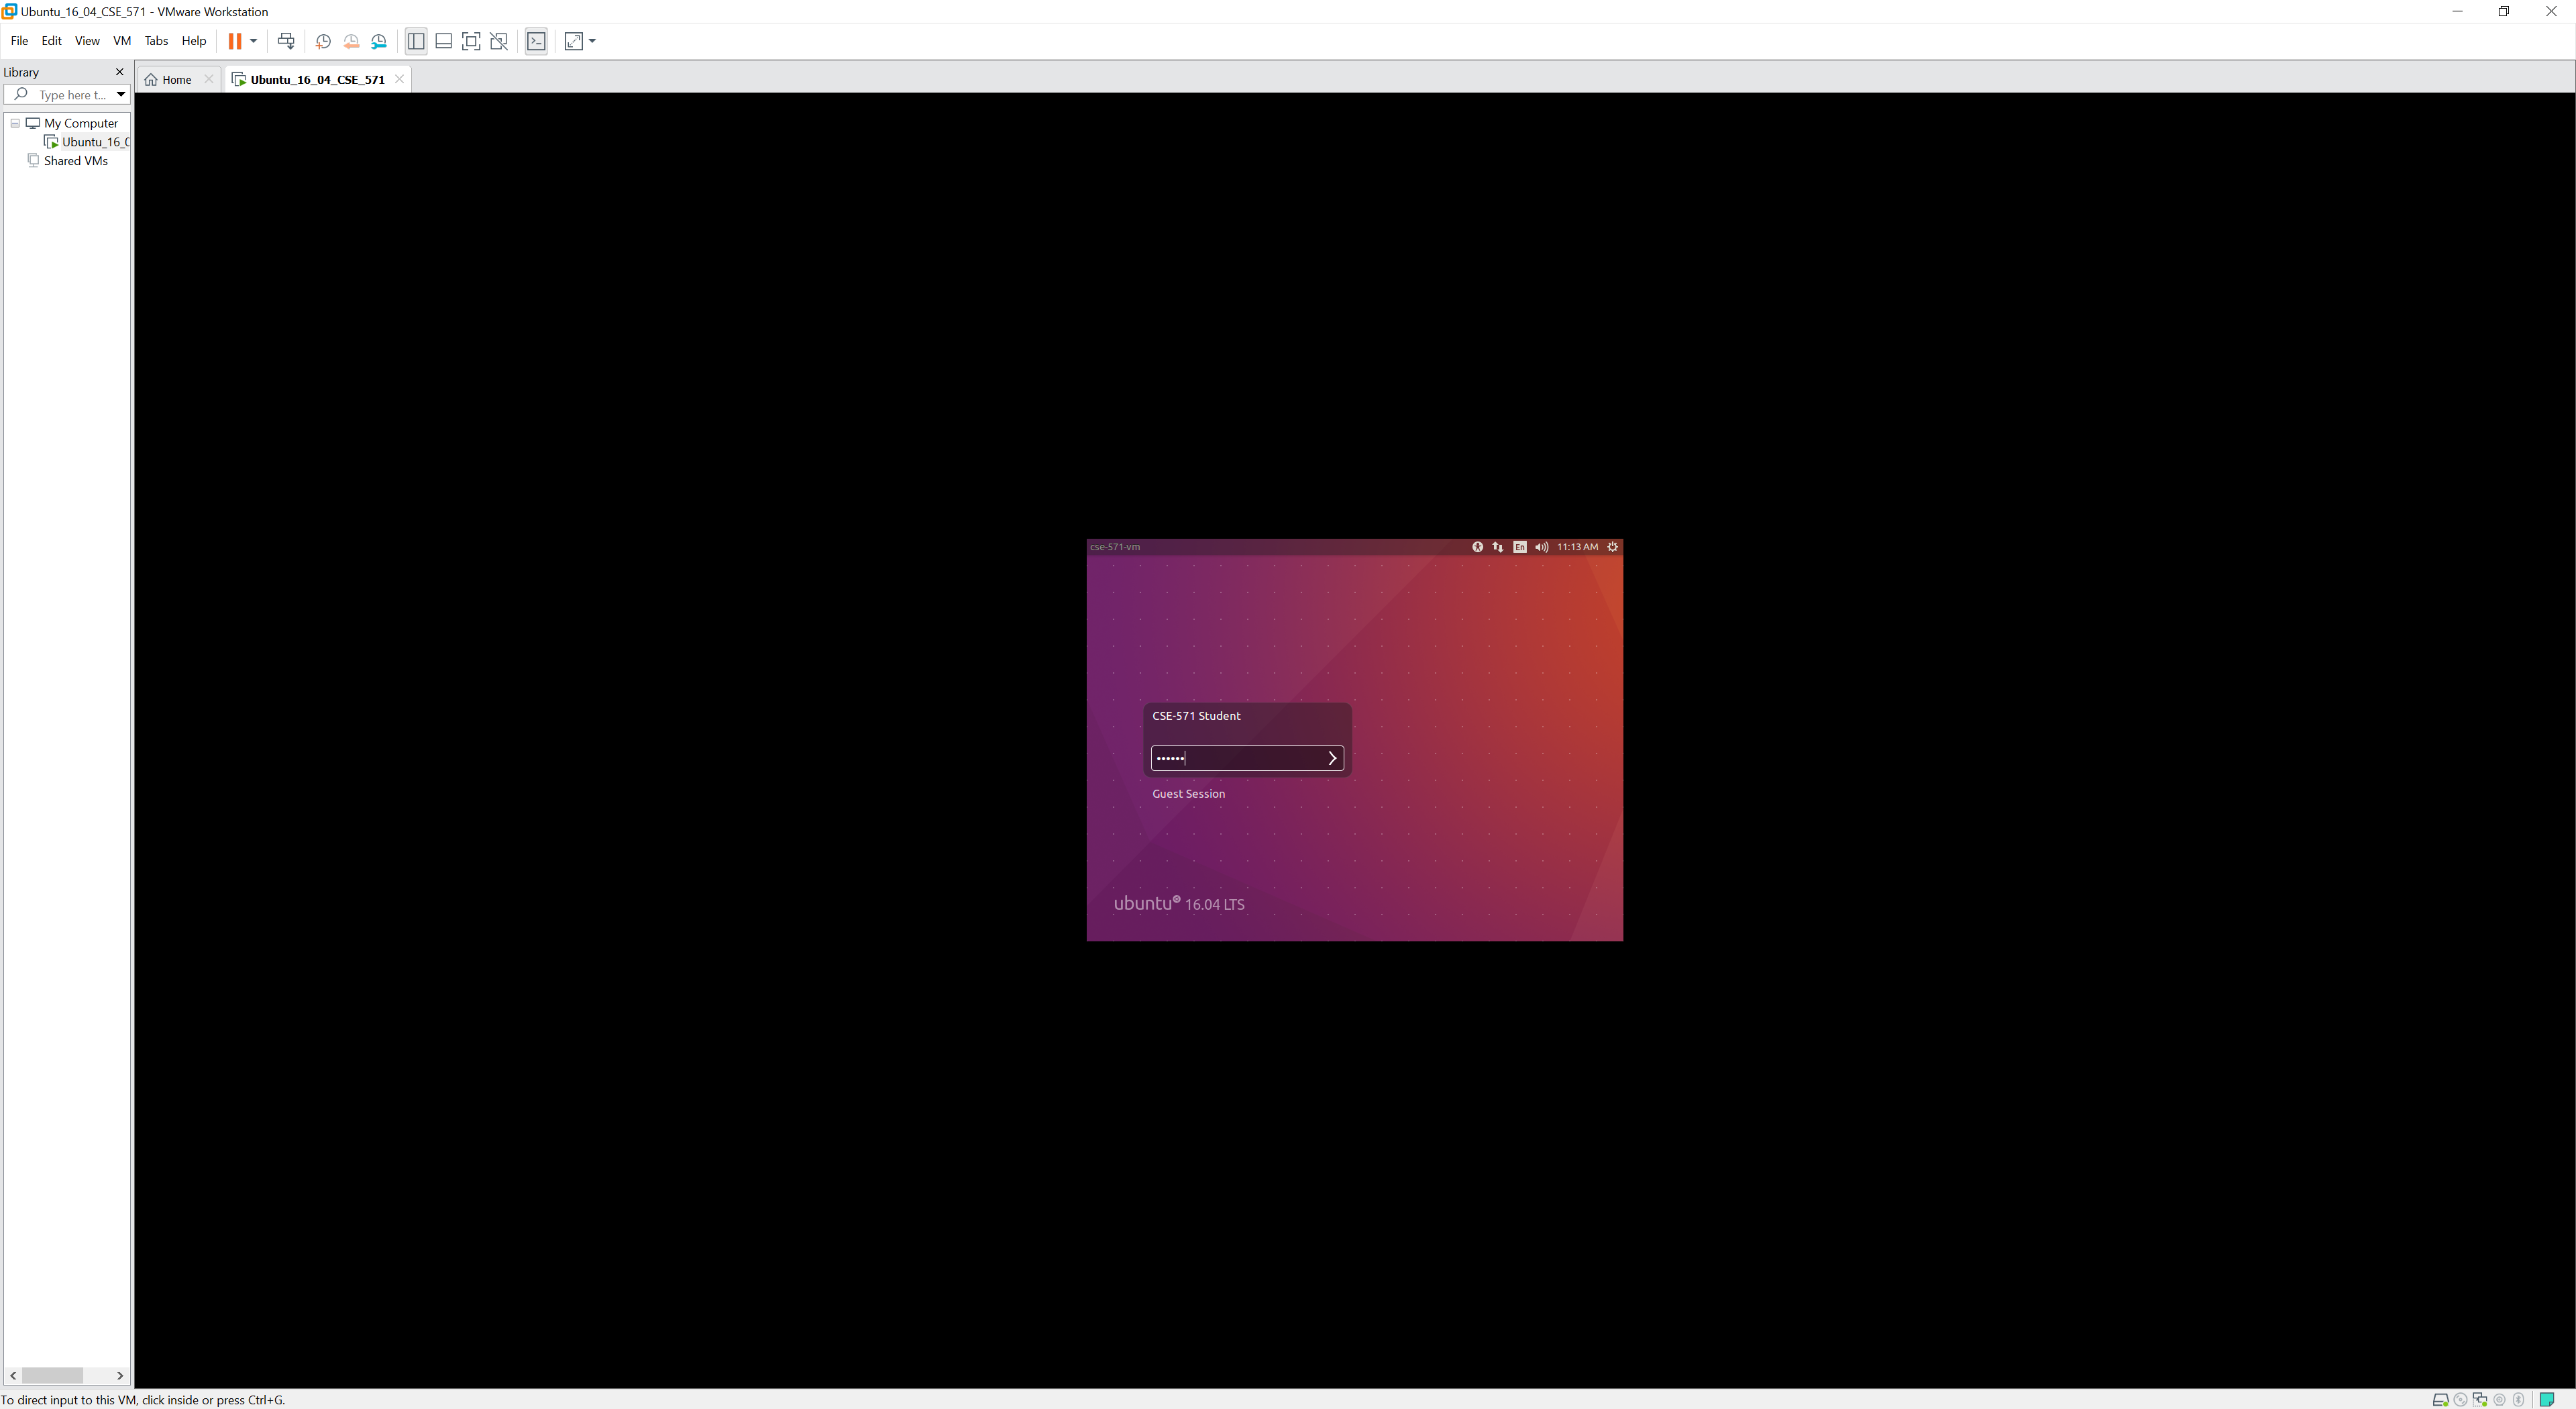
Importing the VM image will take some time.
-
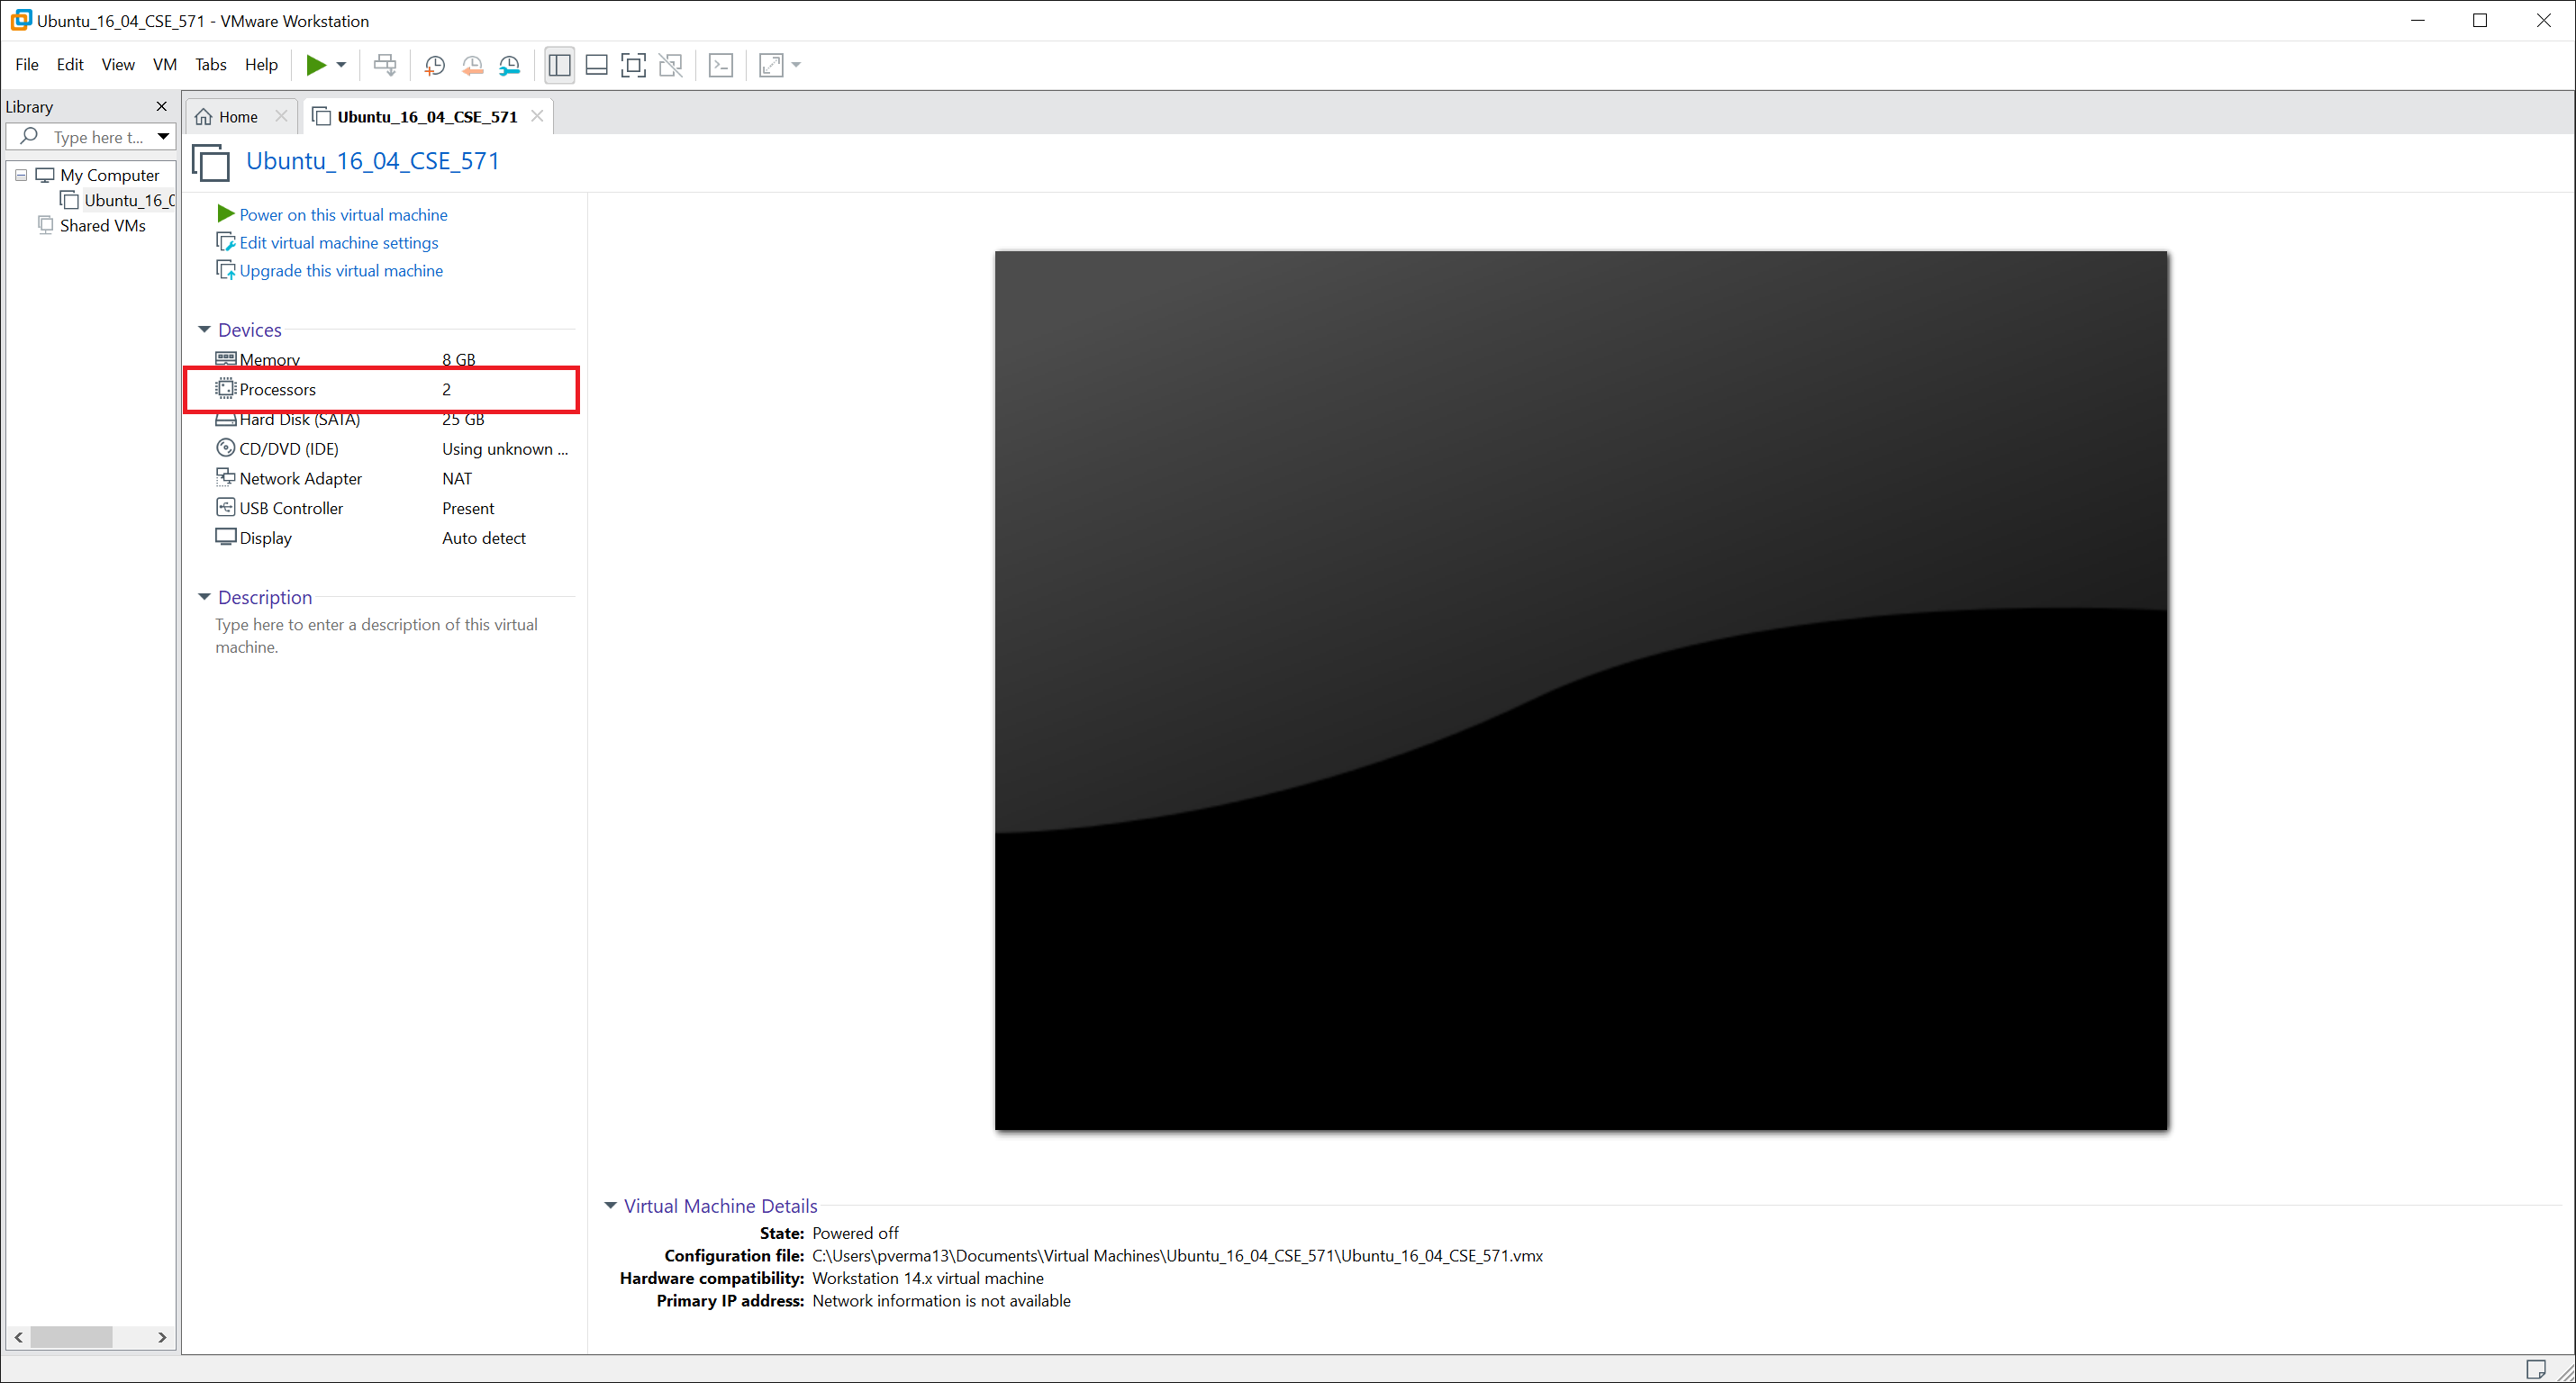
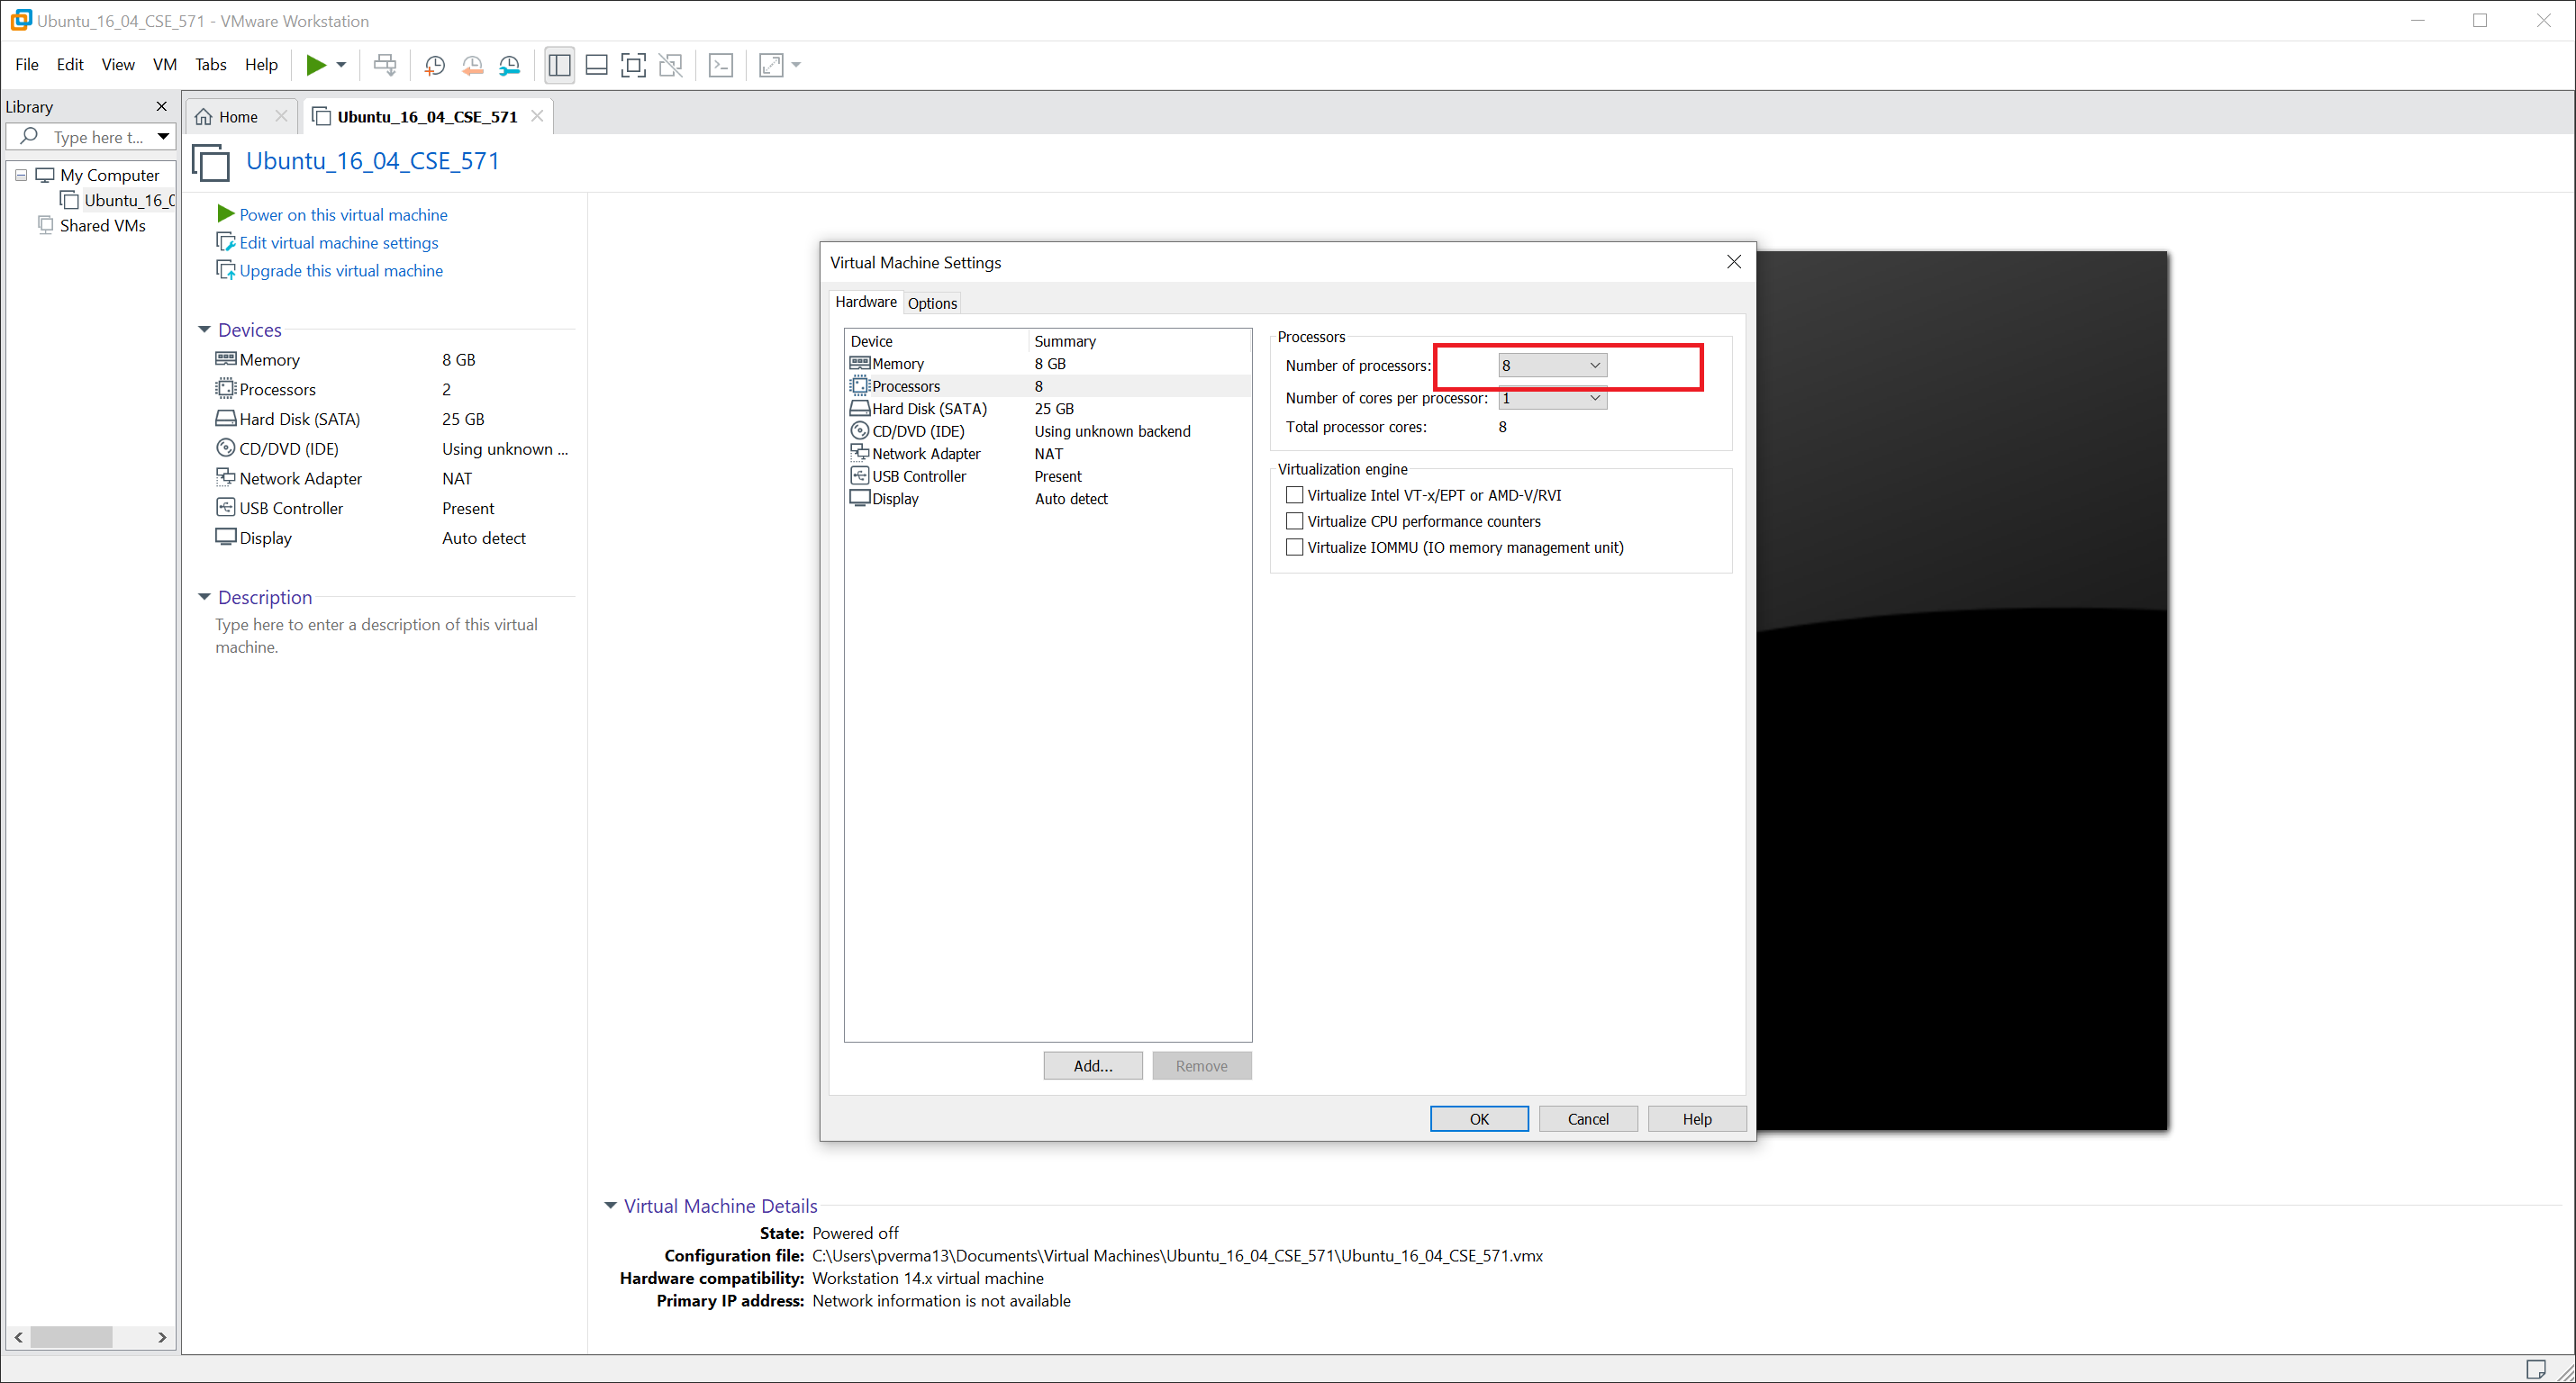
By default, the number of processors is set to 2, you can change the number of processors to suit your needs. Having less number of processors will slow down the VM, so it is recommended to increase the number of processors if available. You can also play around with other options here.
-
If you get an error connecting to ide1:0, click No, so you'll not get this error in future.
-
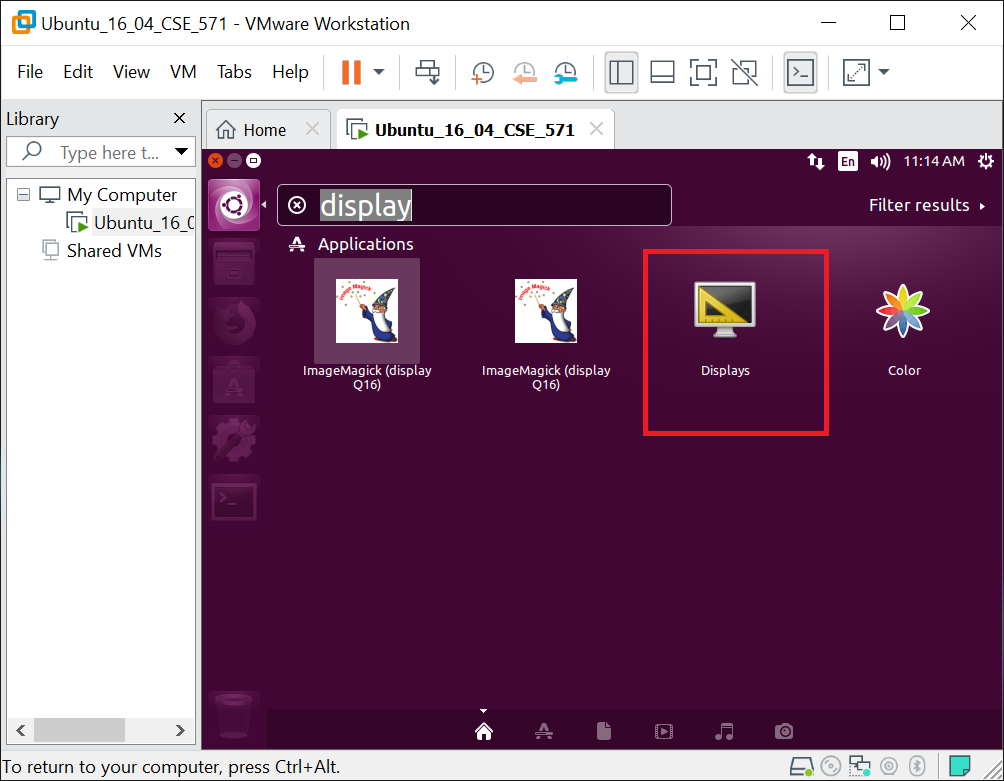
If your screen size is very small, you can change the resolution in Ubuntu.
-
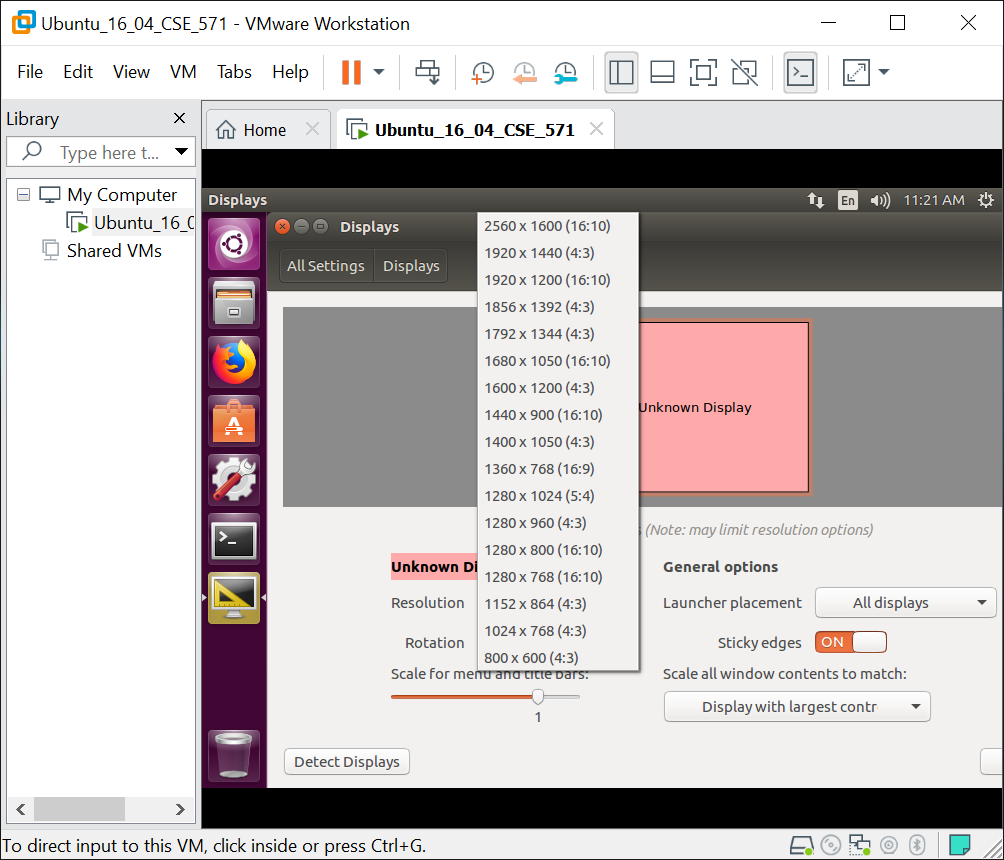
To change the resolution search for Displays and open the display settings.
-
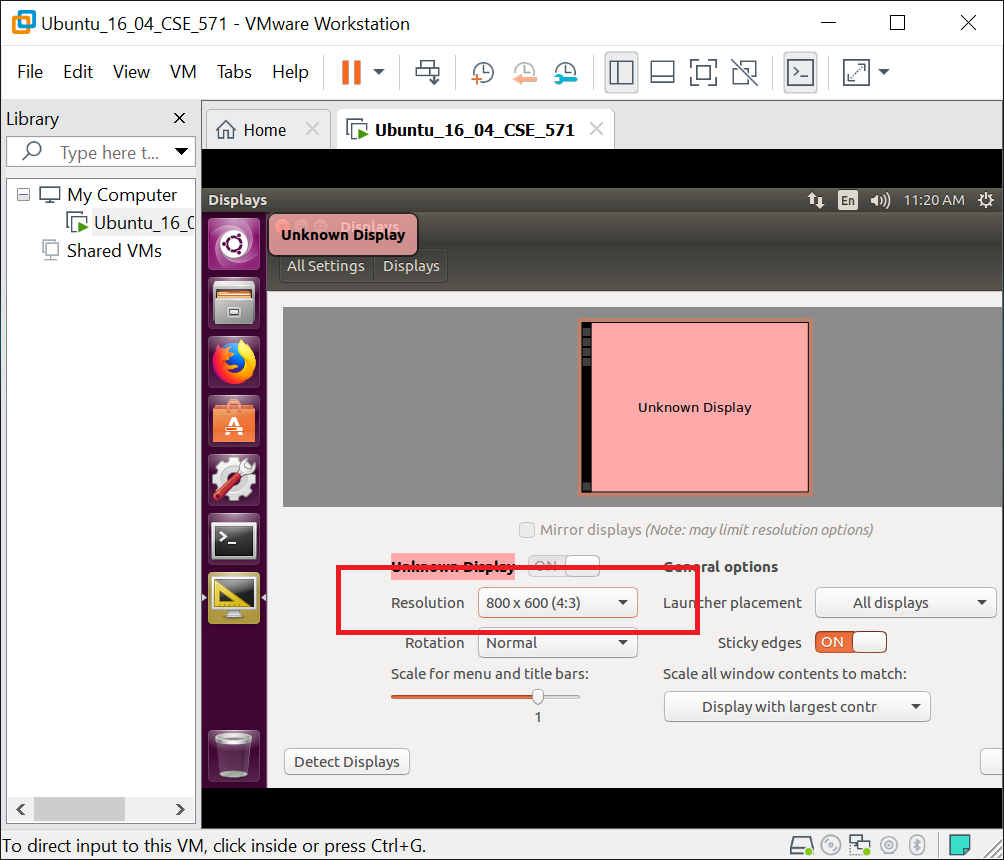
Change the resolution that suits your needs.
-
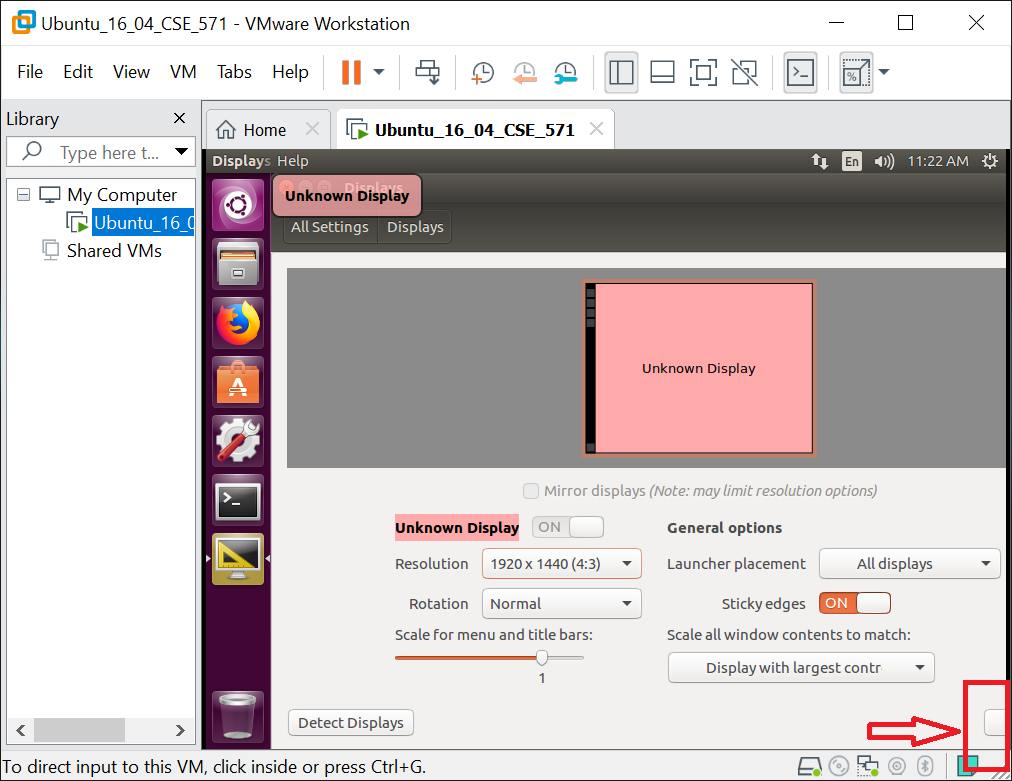
For very small screens, the Apply button might be hidden. You can move the window or click on the partially visible button.
-
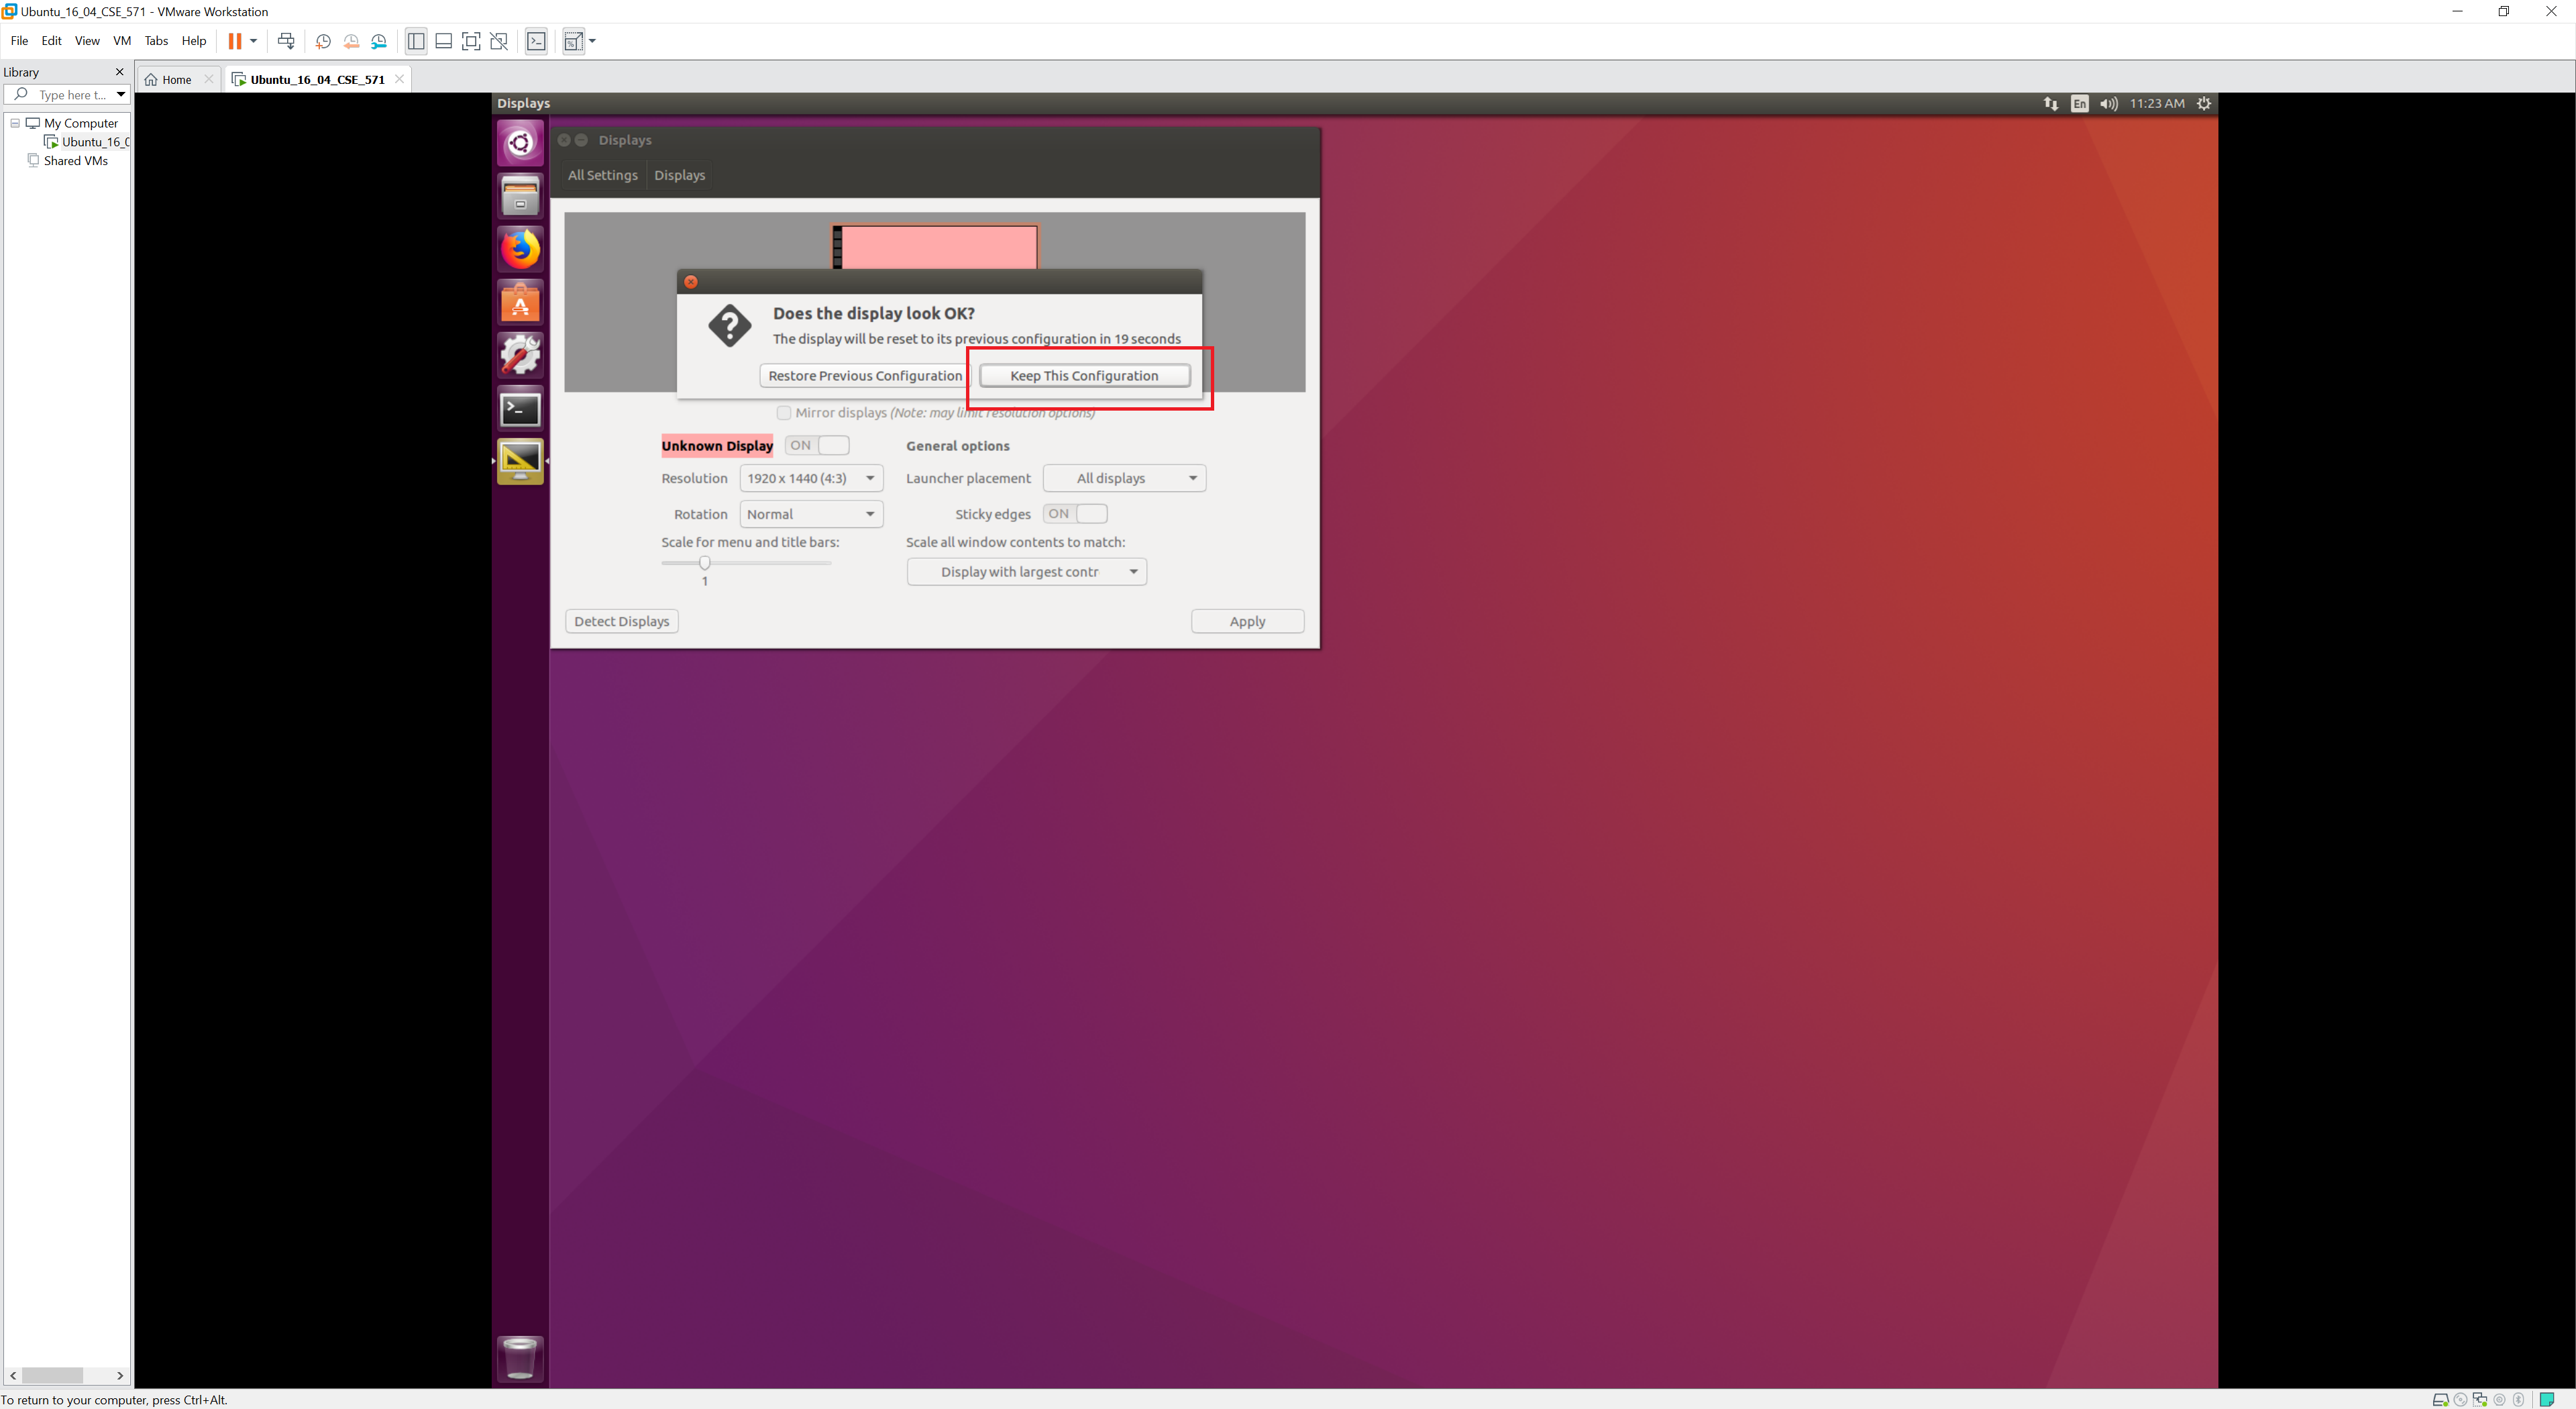
If the changed configuration is ok, you can keep it, or restore to previous configuration.